
In recent years, human hair wigs have become increasingly popular as a convenient and trendy way to change up your hairstyle. Among the different types of wigs available on the market, the 360 lace wig has gained immense popularity due to its versatility and natural appearance. If you're new to wearing wigs and wondering how to install a 360 lace frontal wig, you've come to the right place! In this blog post, we will guide you through the step-by-step process of installing a 360 lace wig, ensuring that you achieve a flawless and seamless look.
What is 360 lace wig and why is it popular?
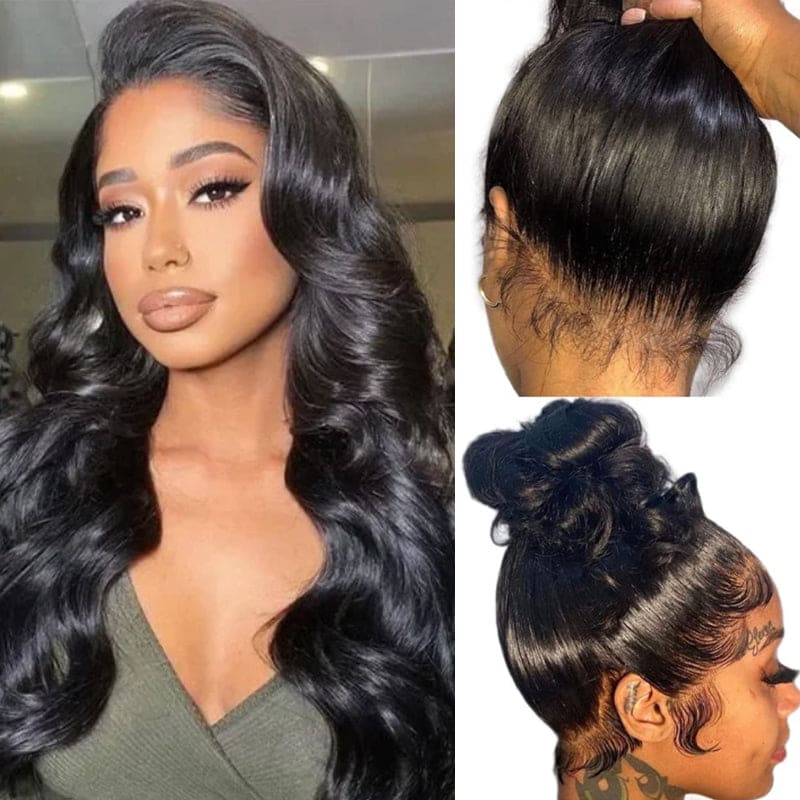
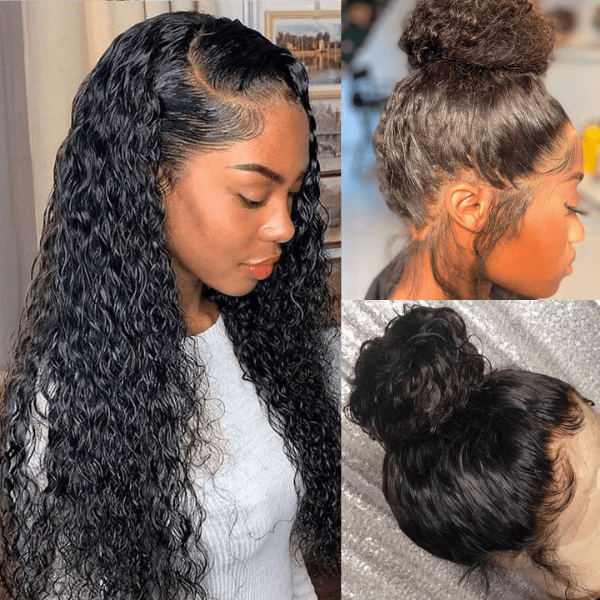
A 360 lace wig is a type of wig that provides more versatility and natural-looking results than traditional wigs. It is made with a lace cap that covers the entire perimeter of the head, hence the name "360." This lace cap is hand-tied, allowing for a realistic hairline that mimics the appearance of natural hair growing directly from the scalp.Whether for fashion, convenience, or medical reasons, the 360 wig offers individuals the chance to achieve a flawless and realistic look with ease.
What makes a 360 lace wig unique and popular is its ability to be worn in various hairstyles, including high ponytails, braids, and updos. Unlike regular wigs, the 360 lace wig features lace around the entire circumference, allowing for a seamless and natural finish no matter how the hairstyle is worn.It is a preferred choice for those experiencing hair loss, undergoing chemotherapy, or simply seeking a temporary change in their appearance.
7 Steps on How to Install 360 Lace Wig
Installing a 360 lace wigs may seem like a daunting task at first, but with the right guidance, it can be a seamless and effortless process. Whether you are new to wearing wigs or have prior experience, following these 7 steps will ensure a flawless installation that will leave you feeling confident and beautiful. From preparing the wig to securing it in place, let's delve into the world of installing a 360 lace frontal wig and discover the key steps to achieve a stunning and natural look.
Step 1: Preparing Your Natural Hair
Before installing the 360 lace wig, it is important to prepare your natural hair properly. Start by washing, conditioning, and thoroughly drying your hair. Use a wig cap to flatten your natural hair against your scalp, ensuring a smooth foundation for the lace wig. This step is crucial in achieving a natural and seamless look, as it provides a flat base for the wig to rest upon.
Step 2: Adjusting the Wig Cap and Trimming the Lace
To ensure a perfect fit, adjust the wig cap's straps to fit your head securely. Next, place the 360 lace front wig on your head, aligning it with your natural hairline. Use clips to secure the 360 lace front wig cap in place. Carefully trim the excess lace along the front hairline of the wig. It is recommended to leave a small amount of lace to enable customization later on.
Step 3: Applying Adhesive or Glue
Choosing the right adhesive for your lace front 360 wigs are crucial for a secure and seamless installation. There are various adhesives available in the market, such as wig glue or tape. Apply a thin layer of adhesive or glue along the hairline, ensuring that it is evenly distributed.
Step 4: Placing the Wig
Gently place the 360 lace front wigs onto your head, starting from the front hairline and working towards the back. Adjust the 360 lace front wigs to ensure that it sits snugly on your head and that the lace aligns with your natural hairline. Be careful not to stretch the lace or cause tension, as this may result in an unnatural appearance.
Step 5: Customizing the Hairline
To achieve a more natural look, customization of the hairline is essential. Use tweezers to pluck a few strands of hair along the hairline, creating a more realistic and gradual hair density. This step is necessary to soften the hairline and mimic the appearance of natural hair growth.
Step 6: Styling the Wig
Now that your lace 360 frontal wig is securely installed, you can style it to your desired look. You can use heat styling tools, such as curling irons or straighteners, to create various hairstyles. However, it's important to use heat protectant products and be cautious not to damage the lace 360 frontal wig.
Step 7: Maintaining and Removing the Wig
Proper maintenance is crucial to keep your 360 human hair lace wigs looking fresh and vibrant. Gently wash and condition the 360 human hair lace wigs regularly, using products specifically designed for wigs. When removing the wig, be careful not to pull on the hair or lace, as this can cause damage. Store the 360 human hair lace wigs on a mannequin head or in a wig stand to maintain its shape and prevent tangling.
Conclusion:
Installing a 360 lace wig can be a simple and enjoyable process when following these easy steps. By properly preparing your natural hair, adjusting the wig cap, trimming the lace, and applying adhesive correctly, you can achieve a flawless and natural-looking hairstyle. Remember to customize the hairline and style the wig to your liking. With proper maintenance, your 360 human hair lace front wigs will continue to enhance your style and boost your confidence.